
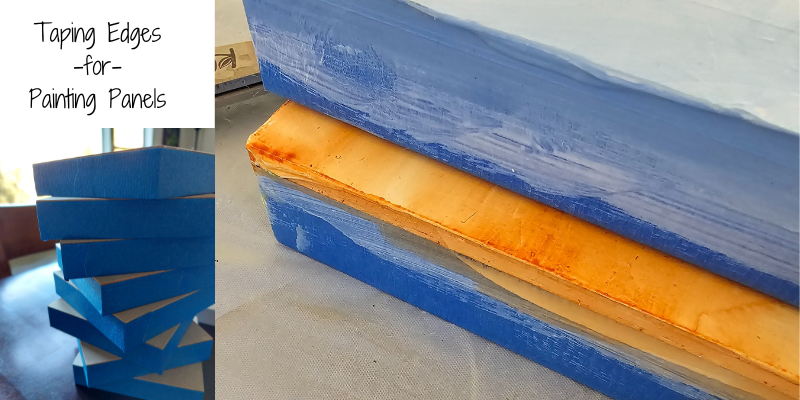
Why Tape Edges?
Taping edges serves multiple purposes:
- Clean Lines: It prevents paint from bleeding over the edges, ensuring sharp, defined borders.
- Protection: It protects the sides of your panel from unwanted paint, maintaining a neat appearance.
- Professional Finish: It adds to the overall polished look of your artwork, making it look well-crafted and intentional, and makes it so you don’t have to frame!
Materials Needed
- Painter’s Tape: I like to buy in bulk at the hardware store when painter’s tape is on sale. The blue stuff works great. Once I tried the green type for bricks – that was way too sticky! I’d avoid regular masking tape, in case you want it to stick for a while.
- Panel you are painting.
- Possible: xacto-knife.
Step-by-Step Guide to Taping Edges
-
Prepare the Surface: Ensure your panel is clean and dry. Any dust or moisture can prevent the tape from adhering properly. If you have this wipe it off with a clean towel, and let dry completely.
-
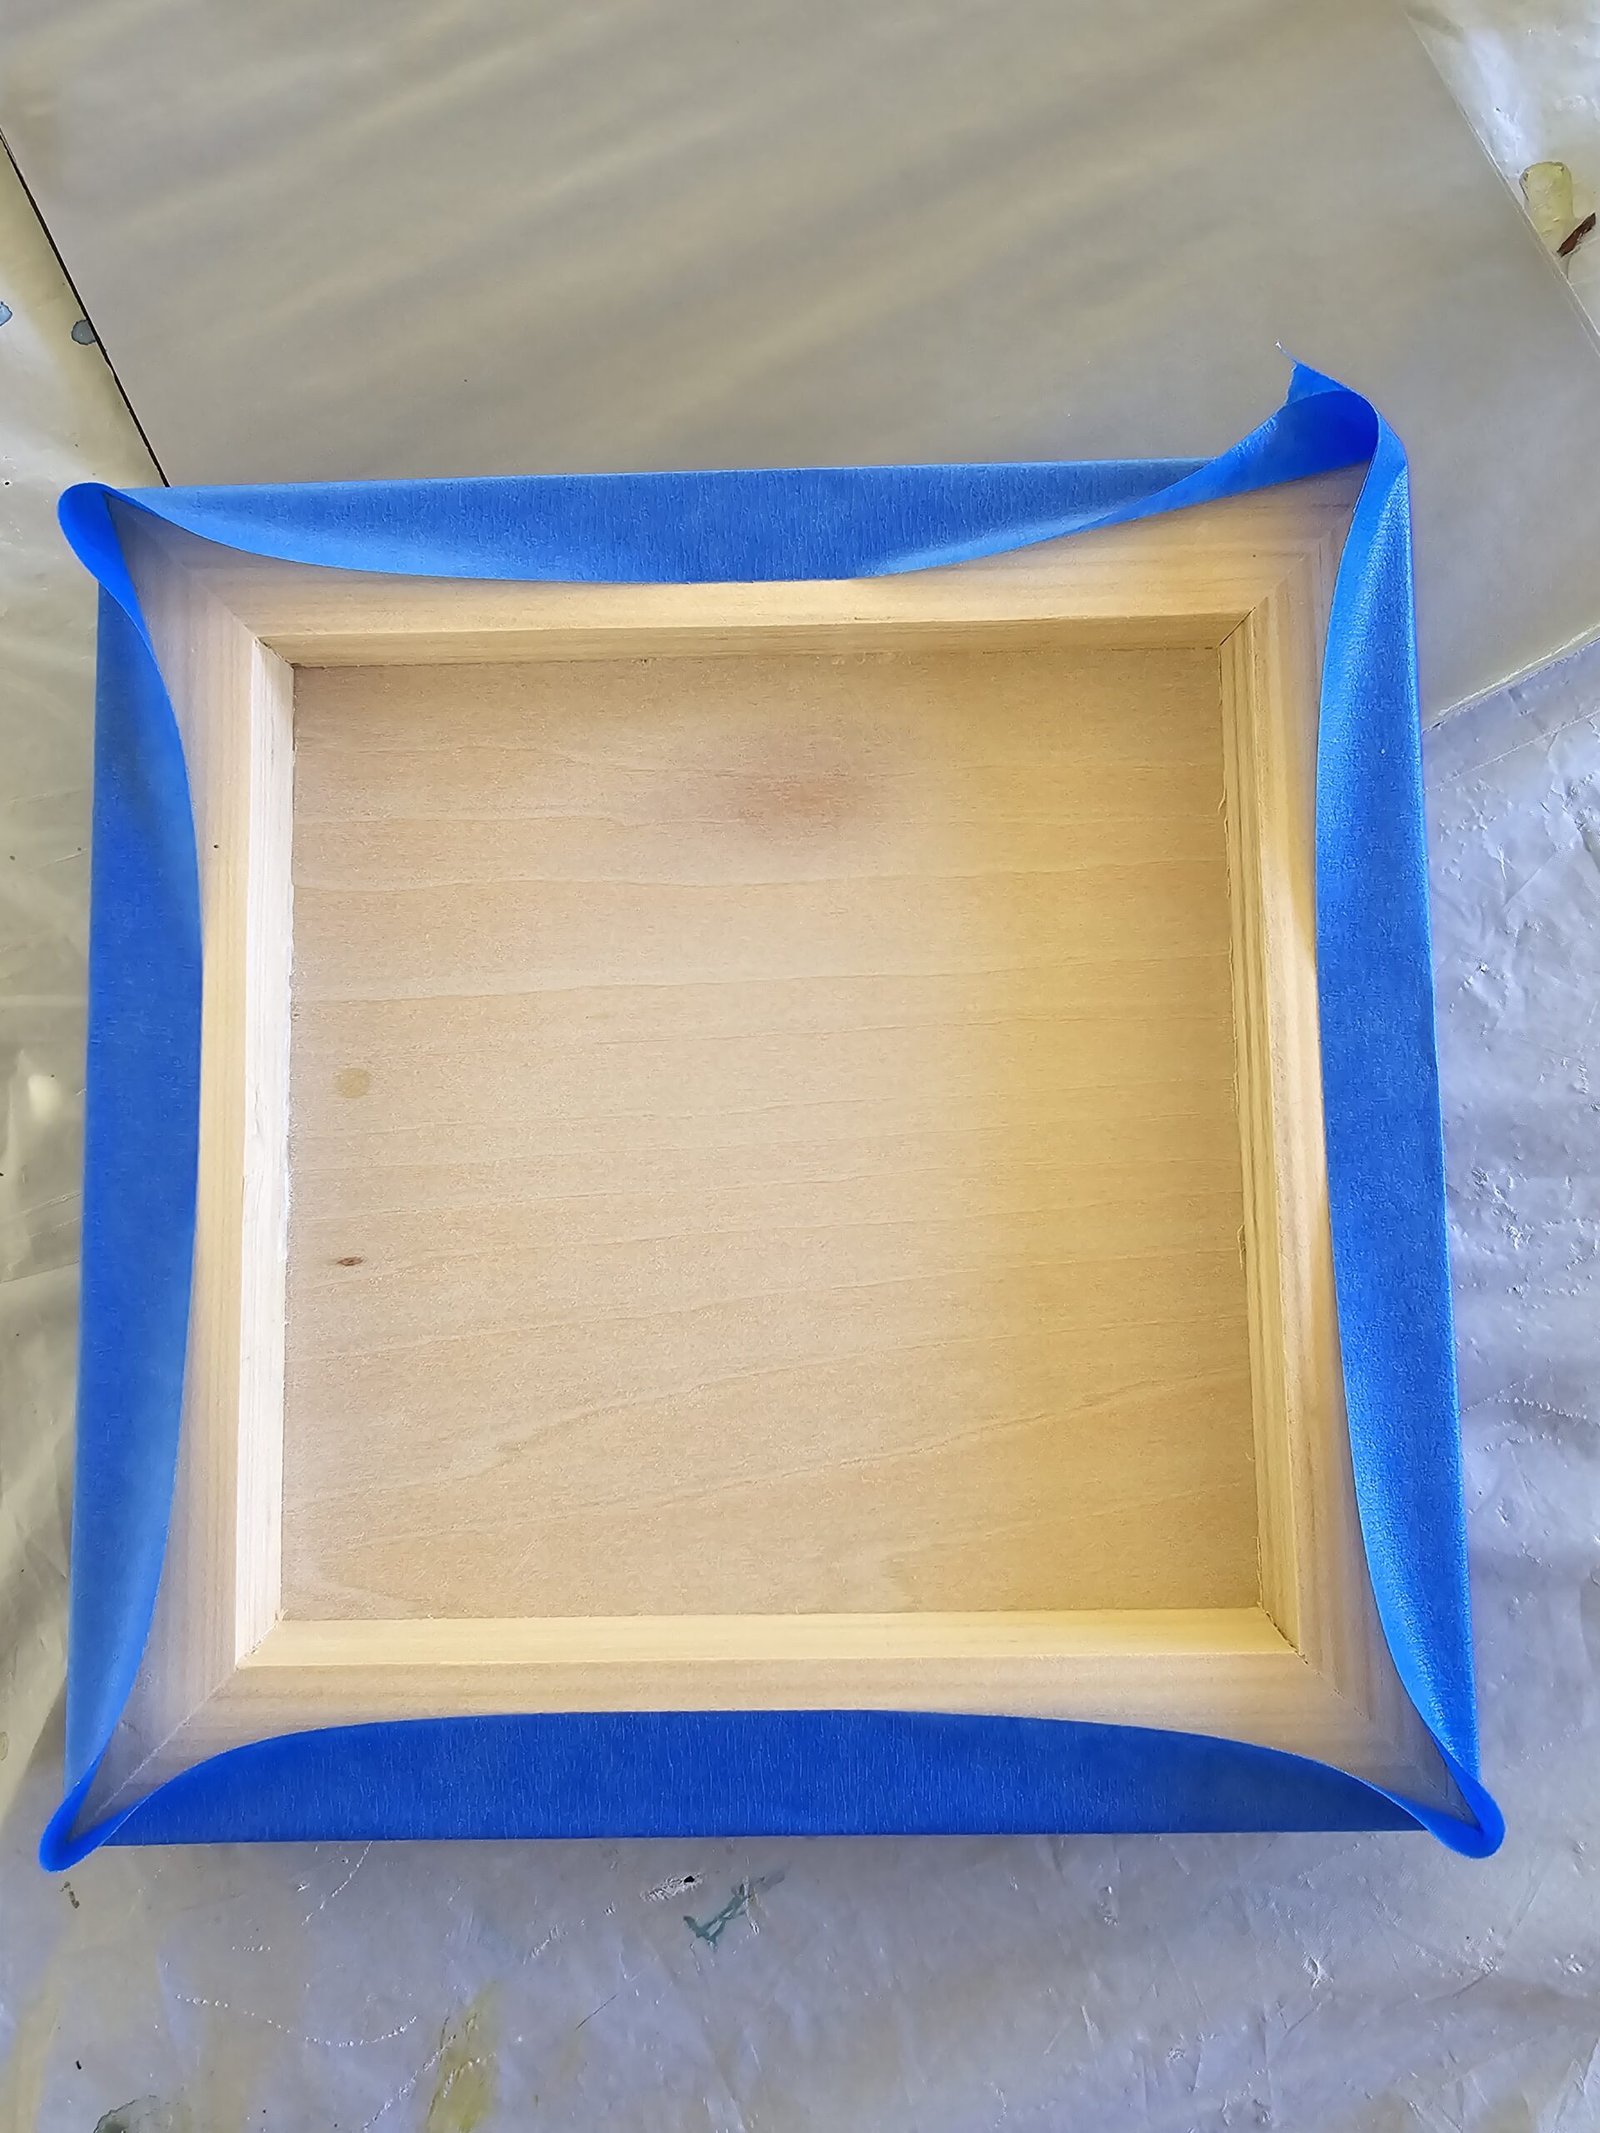
Apply the Tape: Carefully place the tape along the edges of your panel. Press down gently but firmly to make sure it sticks well. If you keep apply the tape as you go, you can use only one piece to reduce the amount of times you have to match up edges. You can apply the tape at the edge, or at the edge of the panel (which is what I do).
- Don’t start the edge of the tape on the edge of the panel. Start an inch or two in, and then you can have a smooth and even wrap around the corner.
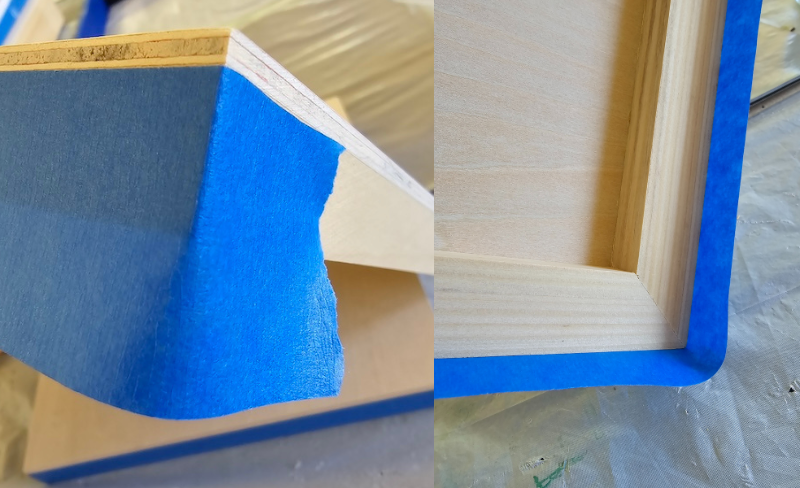
- Folding the tape: I like to press it down in the middle, work my way to the edges, and then do a fold for the corners (like hospital corners on sheets).
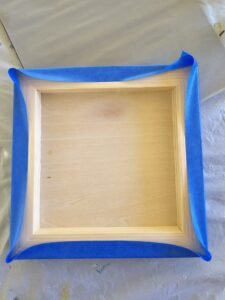
Folding down the center of the edges towards the middle of the panel first, then work towards the corners.
- Don’t start the edge of the tape on the edge of the panel. Start an inch or two in, and then you can have a smooth and even wrap around the corner.
-
Burnish the Tape: Use a burnishing tool or a credit card to press the tape down firmly, especially along the edges.
-
Paint Away: Once your edges are taped, proceed with painting your panel as usual. Don’t worry about getting paint on the tape – that’s what it’s there for!
-
Remove the Tape: After your paint has dried (or is just about dry), carefully peel off the tape. Pull it back at a 45-degree angle to avoid tearing any paint. If you have a big glob, you can cut through carefully with an xacto.
Tips for Success
- Test First: If you’re unsure about the tape’s adhesive strength, test it on a small, inconspicuous area first.
- Edge Sealing: For extra security, you can apply a thin layer of the clear medium along the tape edge before painting. This seals the edge and prevents paint bleed.
- Slow and Steady: When removing the tape, go slow to avoid lifting any paint along with it.
Taping edges might seem like a small detail, but it’s one that can elevate the quality of your artwork significantly. With a little patience and practice, you’ll be able to create clean, professional-looking edges every time. So next time you set up for a painting session, don’t forget the tape – it’s the secret weapon for a flawless finish!
For more tips and tutorials on painting techniques, be sure to check out my YouTube channel! Happy painting!