
Occasionally you will have a slightly crooked painting. Perhaps it wasn’t constructed right, or in my case the stretcher bars moved slightly while I was stretched the canvas. Normally you could cut your frame pieces simply by measuring each side of the painting. But, you don’t want to continue the crookedness. Here is how I solve this problem when making a wood frame:
- Lay the painting down flat – paint side up.
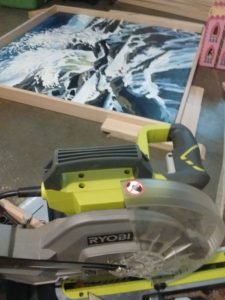
Step 1: Lay painting out on a flat surface
- Cut one corner’s worth of wood that you are framing – this should give you two pieces with 45 degree angles cut. In my example I am working with the upper left corner.
- Use a corner miter clamp to make sure that your angle is “square.” If you don’t have a clamp, you can fashion one of your own, but you will consistently need to check that it is still square in all the following steps.

Step 3 & 4: Notice the red corner miter clamp.
- Put the corresponding corner of the painting in to that corner of the frame as flush as you can get.
- Lay out the other two boards (in this case the right and the bottom).
- Make the other three corners square (right angles).
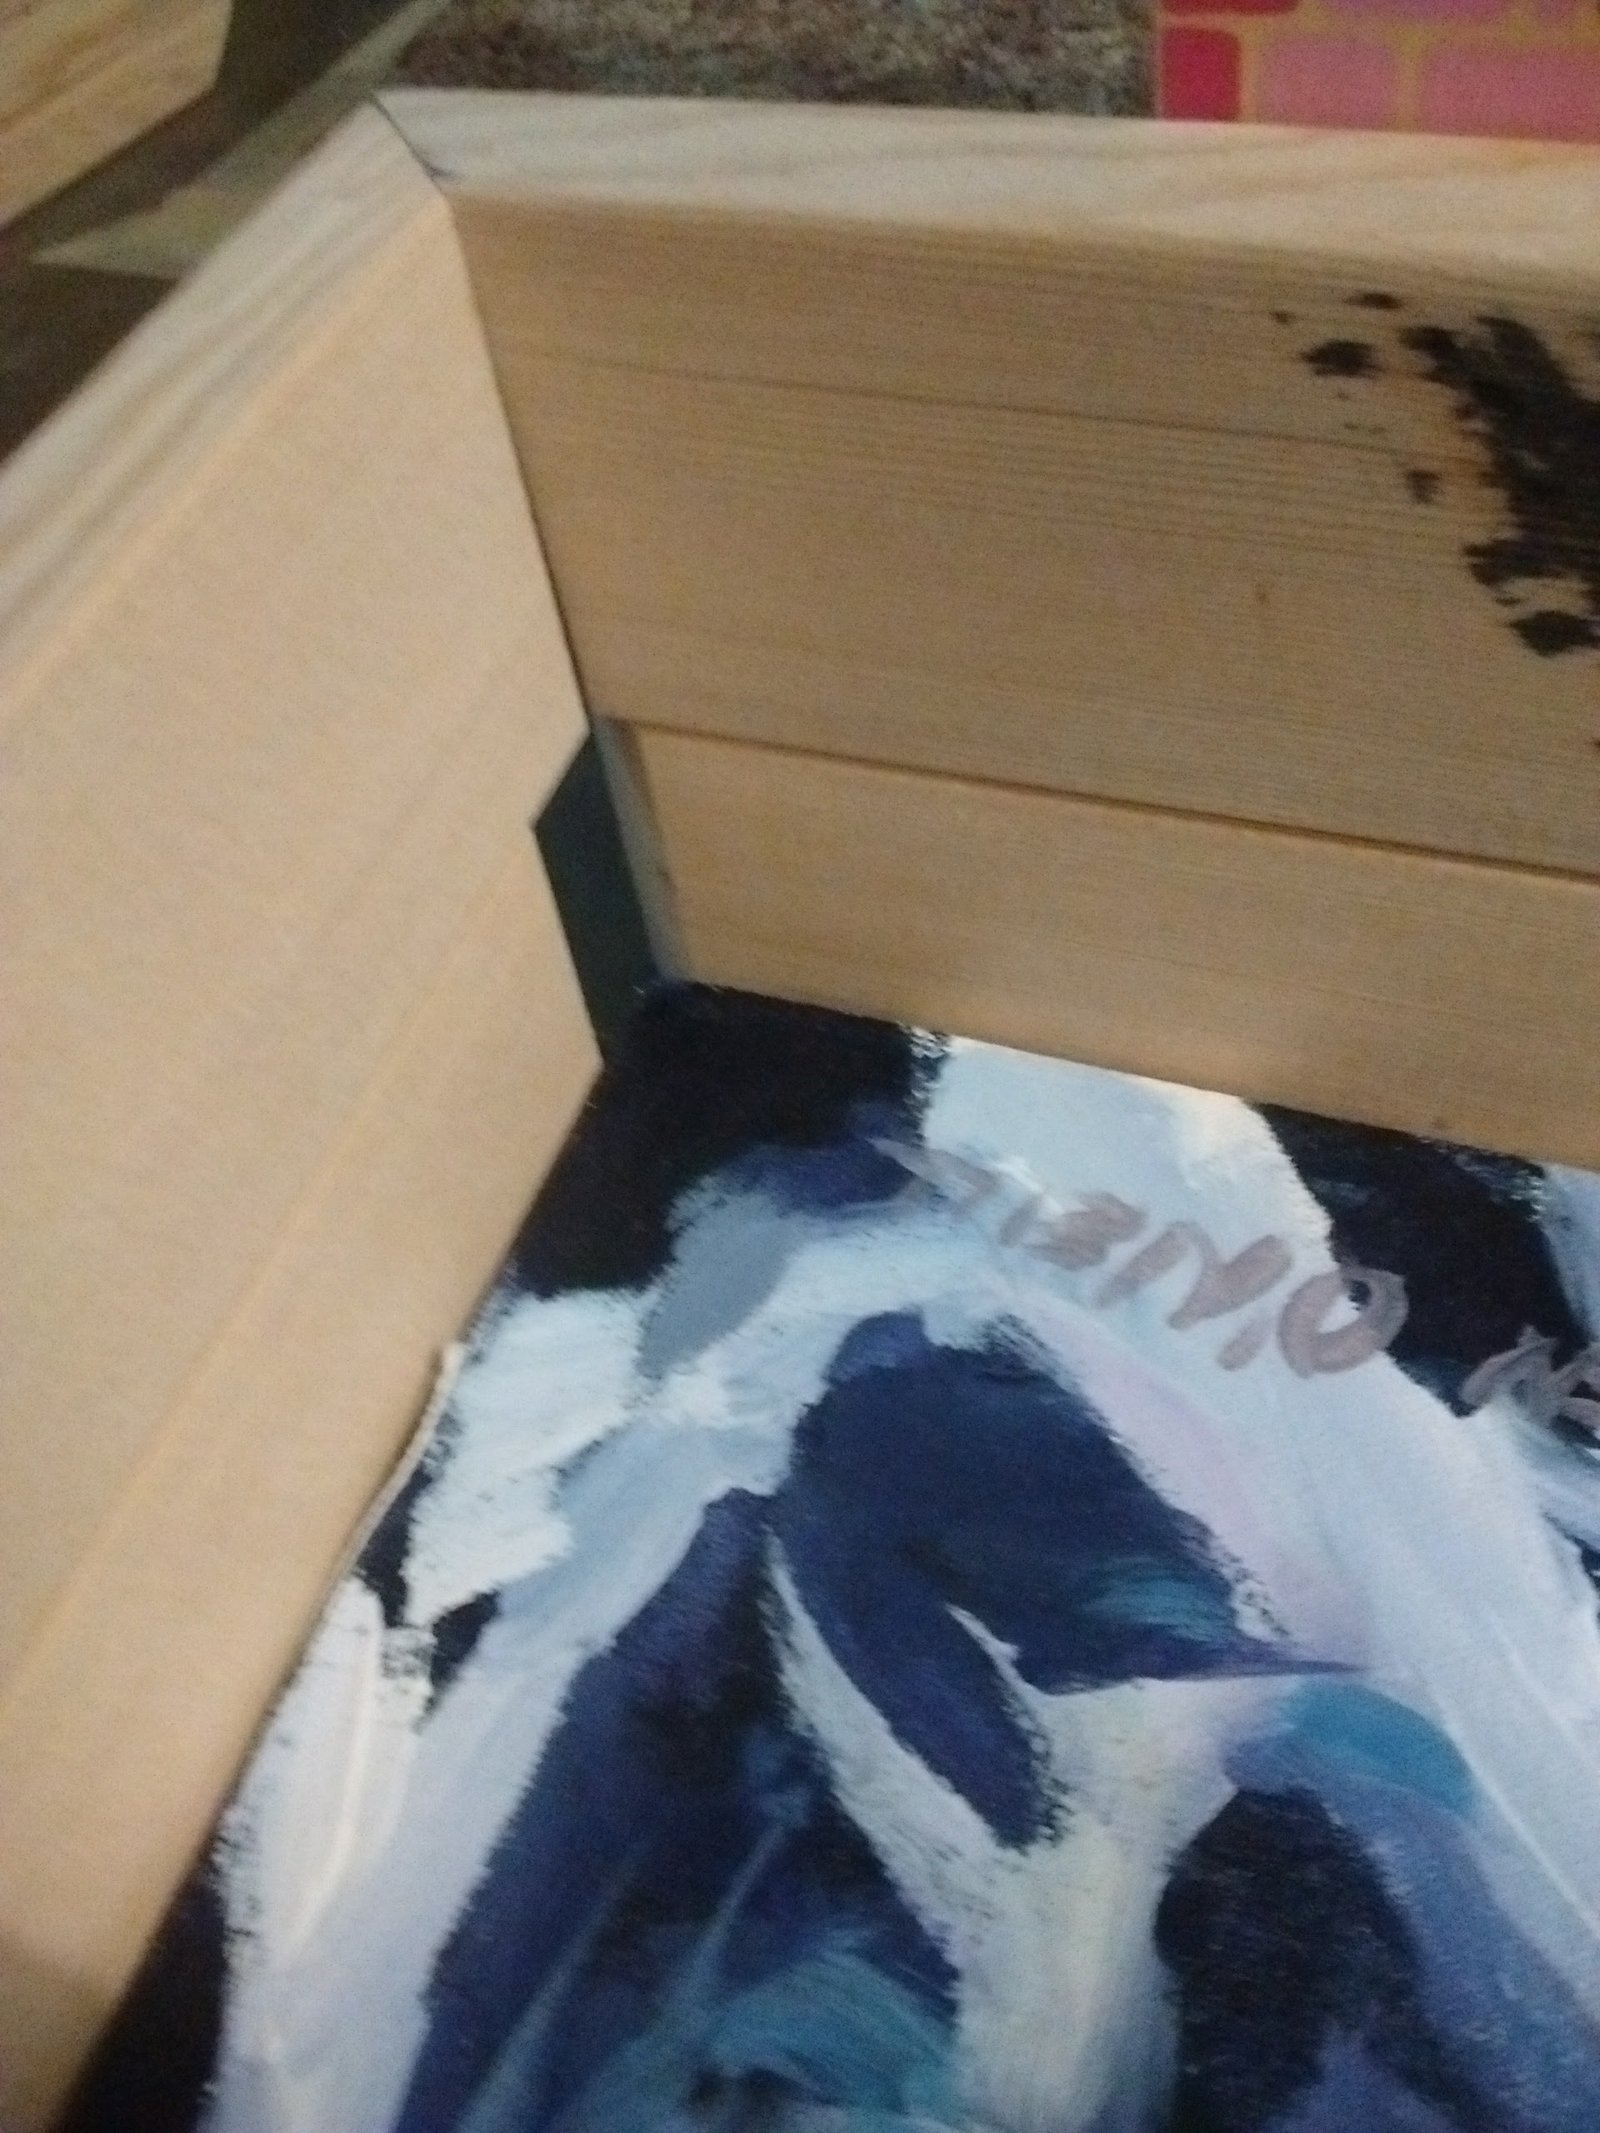
- When all 4 corners are square you will find gaps between the painting and the wooden frame. (These gaps wouldn’t normally exist on a square painting.)

Step 7: See the gap between the painting and the frame? This will be hidden by trim on the inside.
- Measure how large you have to make each length of the frame to have it compensate for the gaps.
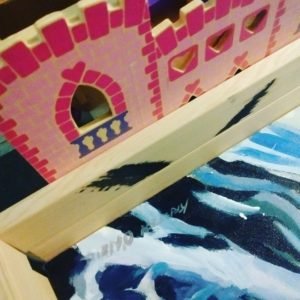
When you don’t have an extra hand, use a spare castle.


Step 8: Here the boards that fit other canvases of the same size are two short. I have stacked other boards on top to measure out how long the new boards should be.