

Golden Hour
The “golden hour” is the time when the sunlight is shifting warmer due to sunrise or sunset. Remember, at these times, the sunlight has to travel through more atmosphere, shifting it to warmer colors. (See “The Basics” paragraph in this post: Color Temperature in Lights) “Golden Hour” is a term mainly used by photographers. So if you look it up online, expect to see lots of photography articles. And that is fine. All the light information still applies.
It amazes me how much the light changes what we see. I love how the sunset can strike a mountain and make it glow, and how green of the grass has a touch of warmth. As a painter it is fun to shift the colors a bit more to the orange and the pink. It’s like changing the tempo of a song. Adding colored light to a scene is a great way to create drama and interest.
When we paint outside, or paint outside locations, there is always a a time of day. It is really easy to get into the habit of painting everything like it is 3 pm and sunny. Mainly because it can be so easy to adventure outside at those times.
Where is the Light Warmer?
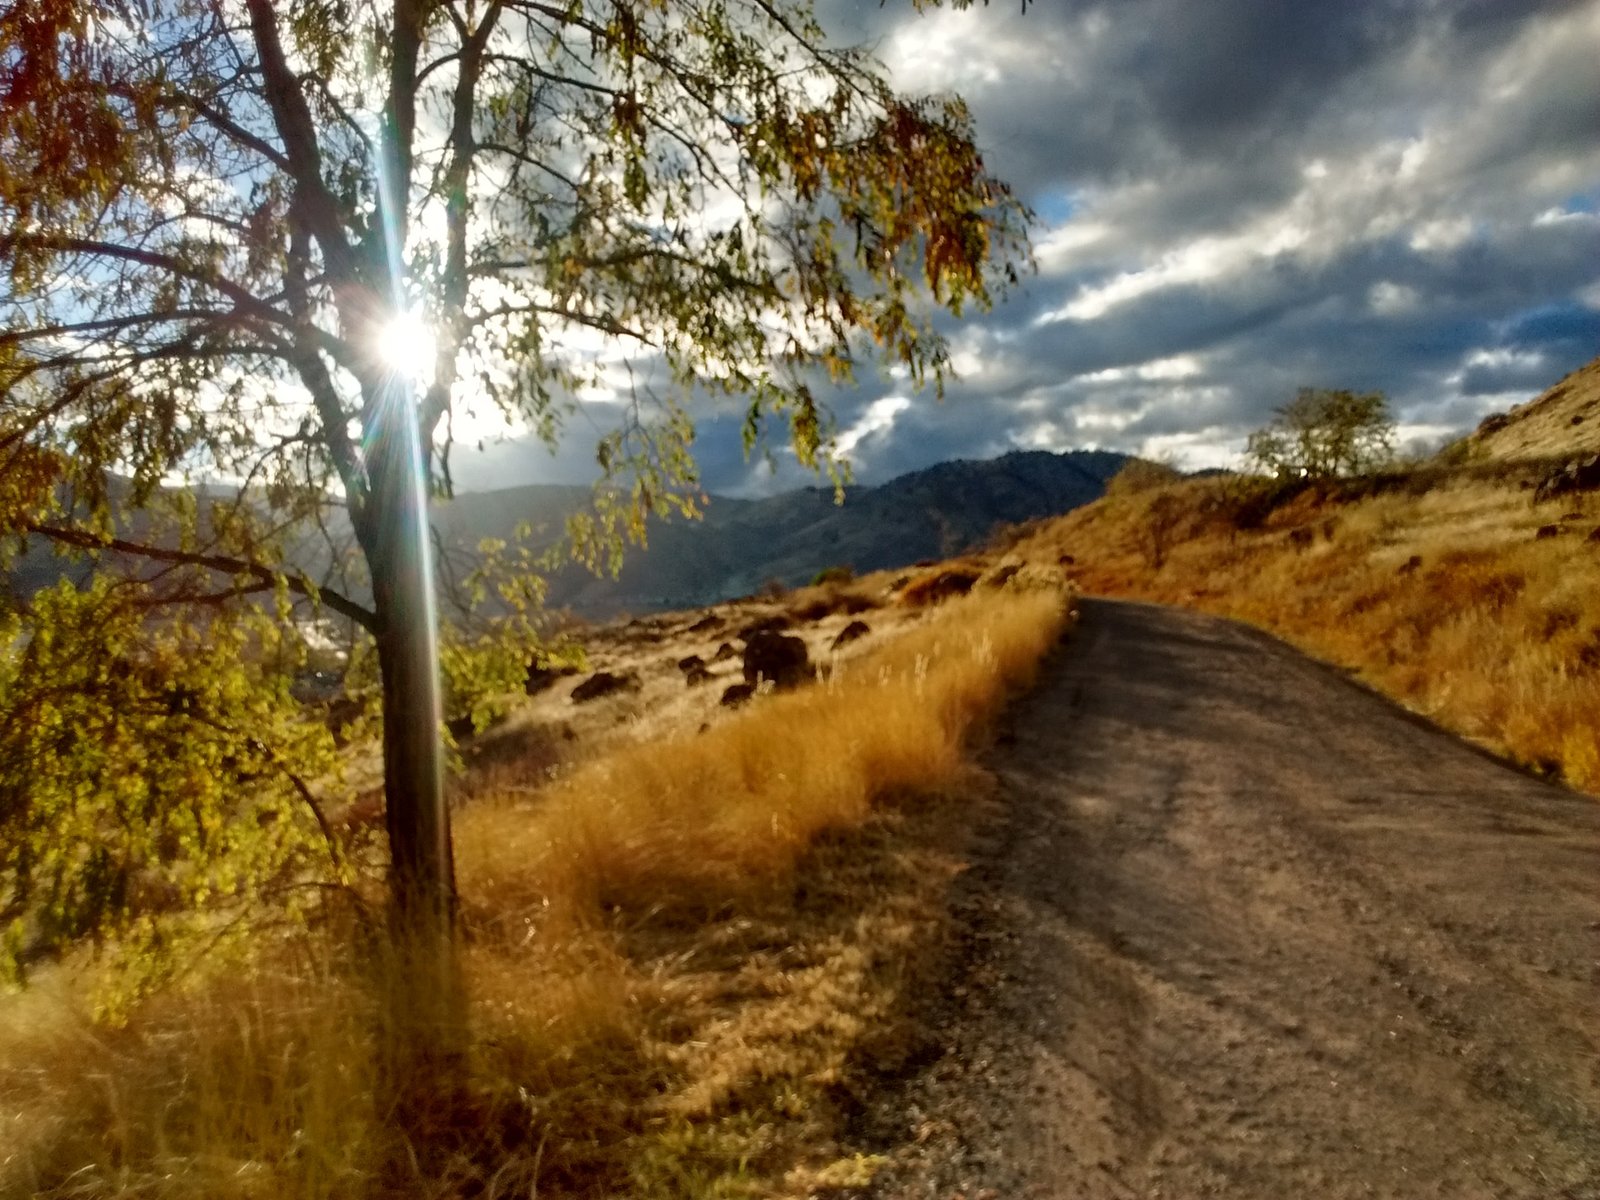
Not all parts of the landscape are the same. Remember when the sun is low in the sky the angle of the light is really shallow. It will not cast down on everything. This is another wonderful opportunity for drama. In the photo above, of Golden, Colorado at the golden hour, you will notice that there is lots of dark areas to offset the warm light. In this photo I am facing the start of the Rocky Mountains. They are in cool colors and darker values – the warm light is not reaching them since they are in shadow! Now look at the road, the tall grass is blocking some of the light from reaching the road.
Where is the light warmer? Anywhere the sunlight reaches. And because the light angle is so shallow, there is cool shadows to help show off those gorgeous warm tones.
Color Mixing
For mixing colors to show the golden hour light, experiment! Try adding more reds, oranges, or yellows to the color you would have created it was still in bold afternoon light. Yellow is a good way to lighten up a color while adding warmth. Do not add white to do this- this will flatten out those beautiful saturated colors you are trying to achieve!
This is a good time to use our trusty friend the color wheel:

If we have a green color, and want to warm it up, we can start to walk it over towards the warmer side by adding yellow. Yellow will not cause it to become more brown or gray because it is a primary color that was already used in the making of the green. Remember: Adding all three primaries together makes your colors muddy.
What if the color is orange? How to we make it seem more “golden hour”? We walk that orange over towards the red more by mixing warm reds slowly into it.
Cool shadows help offset the warm colors
I find that in nature there are two kinds of color colors – ones on the ground, and ones in the sky. On the ground, the warm light is not hitting this area and the color can shift to more a blue/brown color reasonably. It really needs to be swallowing up any white of the canvas or the paper that is under it. So if you have a green in shadow, we add blue. If we have a blue, we add purple. If it turns to brown – that’s okay.
Cool colors in the sky are a bit different. There is light behind them. The clouds may be thick and unable to let a lot of light through, but mix slowly until you arrive where desired. To create a bit of darker sky that isn’t clouds, try using mostly transparent colors. A wonderful transparent purple for mixing is dioxazine purple.
Do Try This at Home
Take a photo during sunset or sunrise. Adjust the colors on the photo to be as realistic as possible while you are in that moment. (Memory will not work.) Later on, try mixing all the colors you found in that photo. Don’t concern yourself with making a “painting.” Concentrate on exactly matching your photo to the extent of your ability. (May be easier in oil, as acrylic dries darker- but this works in ANY medium.)
For extra understanding:
Take a photo of that same location during different times of the day. Color mix those too. How did one color change from due to the time of the day (or weather!)?
You can spend a lifetime exploring these ideas. They are so fun and rewarding. Try it out with different color palettes. Did you need a color you didn’t have? (I’m looking at you Magenta.) Did you make mud unintentionally? Remember, you won’t need black or white for most of this, so try and get as far as you can without mixing with them. They will simply flatten out and dull down the color you are trying to get to.
Happy painting!